

Model context protocol (MCP) servers provide the tools for AI to take actions on your behalf. In this tutorial, we teach you how to install the Spotify MCP server that allows AI to queue up songs and make playlists. The server is straightforward to set up if you know some basic level software development.
Prerequisites
Base level understanding of software engineering, Git
Install Node.js. (We’ll be using a Nodejs MCP Server for this tutorial, but there are other Spotify MCP servers written in other languages.
An MCP compatible client like Claude Desktop (Anthropic) or Cursor
Spotify Premium Account
Installation
The MCP server we will be installing is Spotify MCP Server by Marcel Marais. This is in my opinion, one of the most comprehensive and well written MCP servers. The detailed set up instructions are here in the GitHub ReadMe. I will also take you through the instructions in this article
Step 1: Create a Spotify Developer Account and App
Go to the Spotify Developer Dashboard
Log in with your Spotify account
Click the "Create an App" button
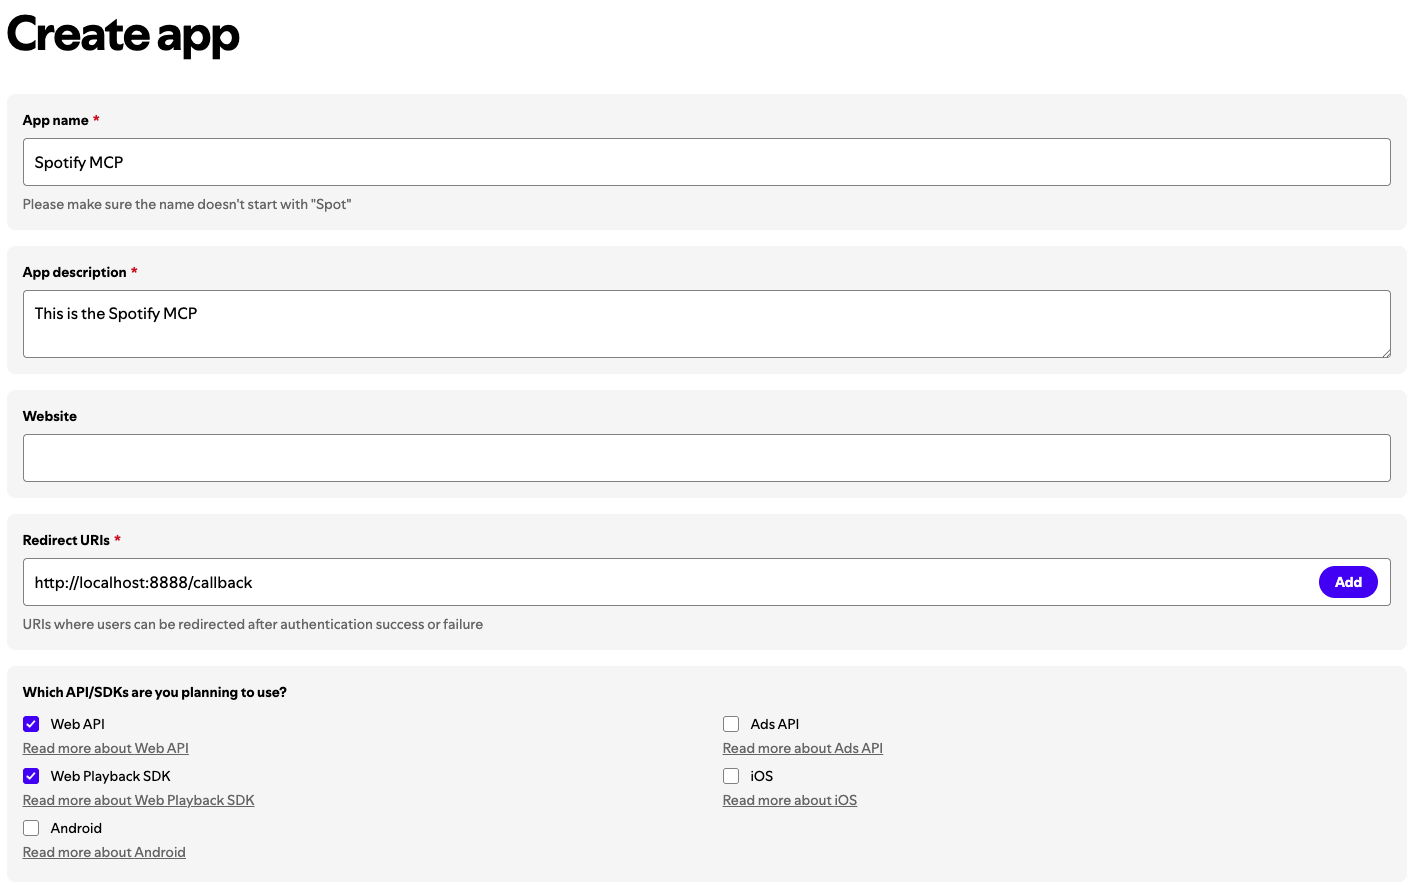
Fill in the app name and description
Accept the Terms of Service and click "Create"
In your new app's dashboard, you'll see your Client ID
Click "Show Client Secret" to reveal your Client Secret
Click "Edit Settings" and add a Redirect URI (e.g.,
http://localhost:8888/callback)Save your changes
Step 2: Clone the repo and configure settings
Clone the Spotify MCP server repo. This downloads the server code to your computer.
git clone https://github.com/marcelmarais/spotify-mcp-server.gitCreate a spotify-config.json file in the project root (you can copy and modify the provided example):
cp spotify-config.example.json spotify-config.jsonOpen up the spotify-config.json and paste in the client ID and client Secret tokens that you got in the Create Spotify Developer App step. This step allows the MCP server to connect to your Spotify MCP App.
{
  "clientId": "your-client-id",
  "clientSecret": "your-client-secret",
  "redirectUri": "http://localhost:8888/callback"
}
Next, open up a terminal to the MCP’s root directory and run the command
npm run auth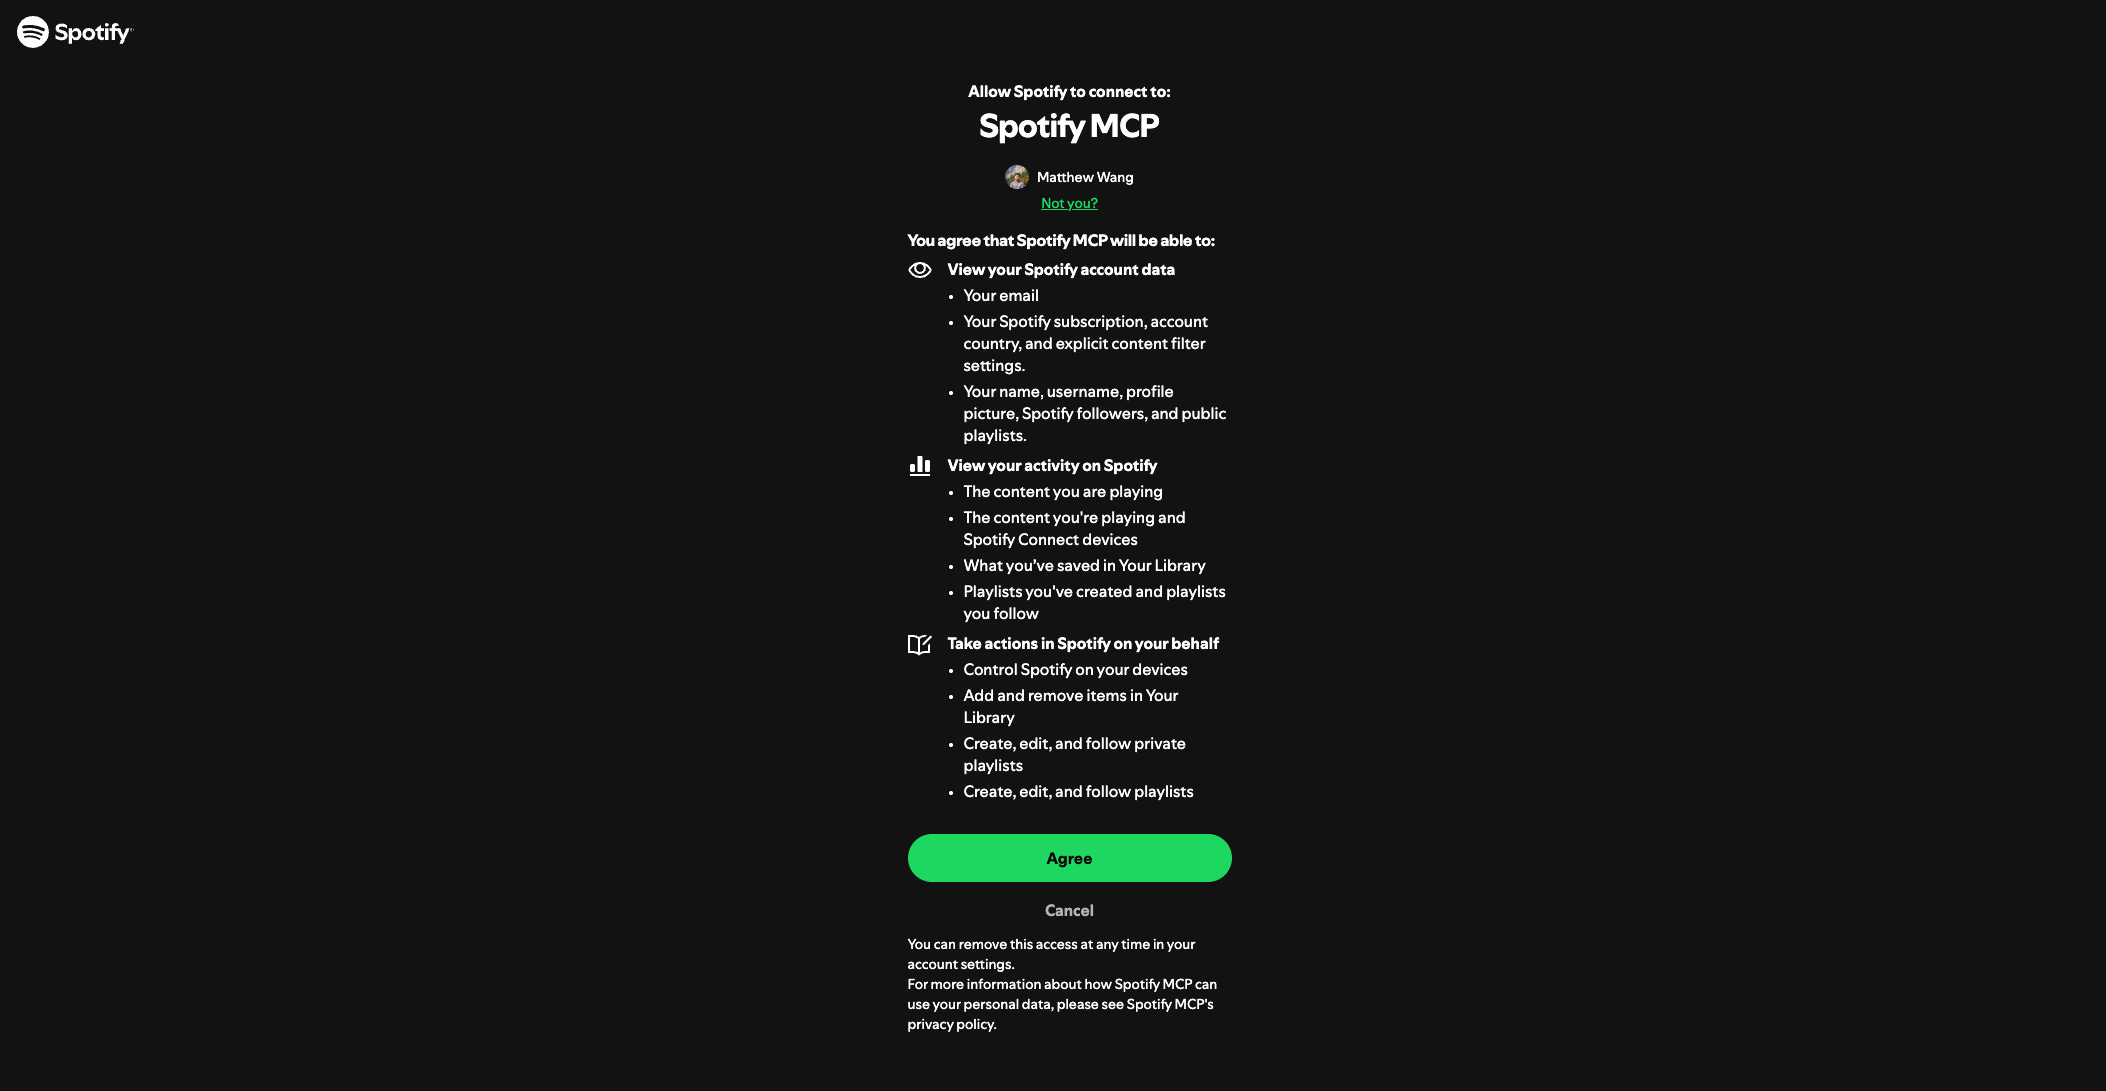
This will open up a browser that will ask you to authenticate into your Spotify account. Once you’ve authenticated your Spotify account, the MCP will save your user tokens into the spotify-config.json. Now, the Spotify MCP has access to your Spotify account to take actions on your behalf. This is safe as the tokens are stored on your local device, not saved with someone else.
Configure the MCP in Claude Desktop
For this tutorial, we will be using Claude Desktop as the MCP client. Hit Settings → Developer → Edit Config. This will take you to the file called claude_desktop_config.json
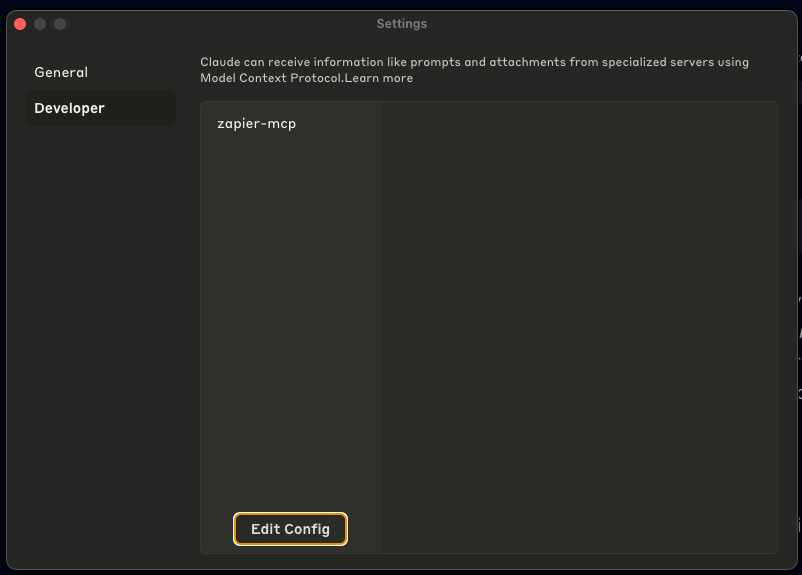
Open up that file, and paste in the following:
{
  "mcpServers": {
    "spotify": {
      "command": "node",
      "args": ["spotify-mcp-server/build/index.js"]
    }
  }
}
Find the /build/index.js in the MCP code. Replace the "args": ["spotify-mcp-server/build/index.js"] with the file location of your build/index.js file in your MCP code. Once that is done, you should be all set to go to control your Spotify account with Claude! Make sure to refresh Claude Desktop after you finished configuring.
Follow ups
To learn more about MCPs, I highly recommend you read the official documentation on MCPs written by the Anthropic team. This short article by Waleed Kadous is also a great non-technical explanation on what they are, and why are a game changer in the AI space.
